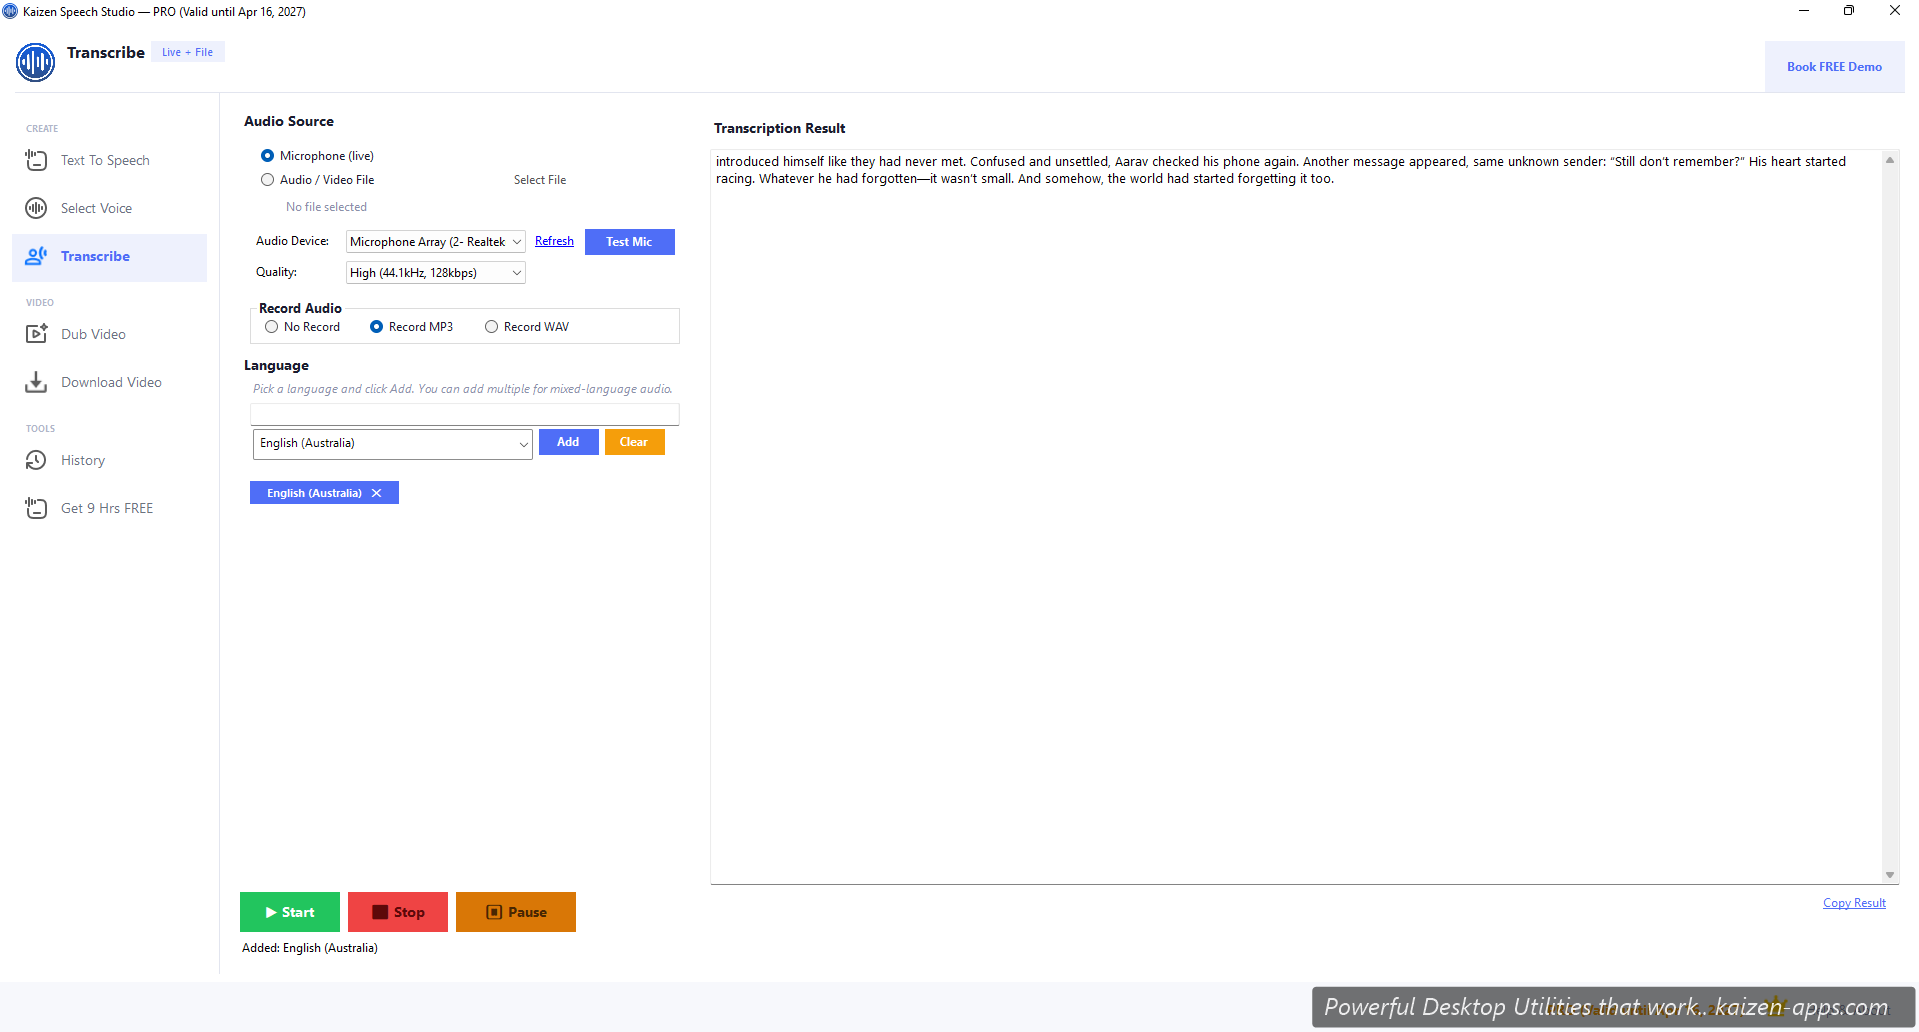
Two input modes
- Microphone (live) — speak into the mic, see words appear in near-real-time.
- Audio/Video file — upload WAV, MP3, OGG, or FLAC; Speech Studio transcribes it.
Live microphone flow
- Pick Microphone.
- Select your input device from the system mic dropdown.
- (Optional) Set Record to MP3 or WAV to save a copy of the audio alongside the transcript.
- Pick a language, or leave on auto-detect.
- Click Start. Speak. Click Pause or Stop when done.
- Copy the transcript or save as a text file.
File upload flow
- Pick Audio/Video File.
- Click Browse, select a WAV, MP3, OGG, or FLAC file.
- Pick language (or auto).
- Click Start. Transcript generates in the right pane.
Quality settings
High (44.1kHz) is the default — rarely worth lowering. Lower settings trade accuracy for speed.
Languages
All 80+ Azure Speech languages. Multi-language audio (e.g. bilingual interview) works best if you specify both candidate languages in the advanced options.
Free tier
Transcription isn't available on Free. Pro gets 5 hours/month via your own Azure key.
Tips for best accuracy
- Quiet room, decent mic
- One speaker at a time (diarization is limited)
- If the source language is set correctly, accuracy jumps 10-20%
- For heavy accents, pick the specific regional variant (e.g. en-IN instead of en-US)
Kaizen Speech Studio
700+ neural AI voices, transcription and AI video dubbing on Windows — one-time purchase, works offline.
Get Kaizen Speech Studio →Free download