How to Automate Auto Pause
Follow easy steps below to Automate Auto Pause
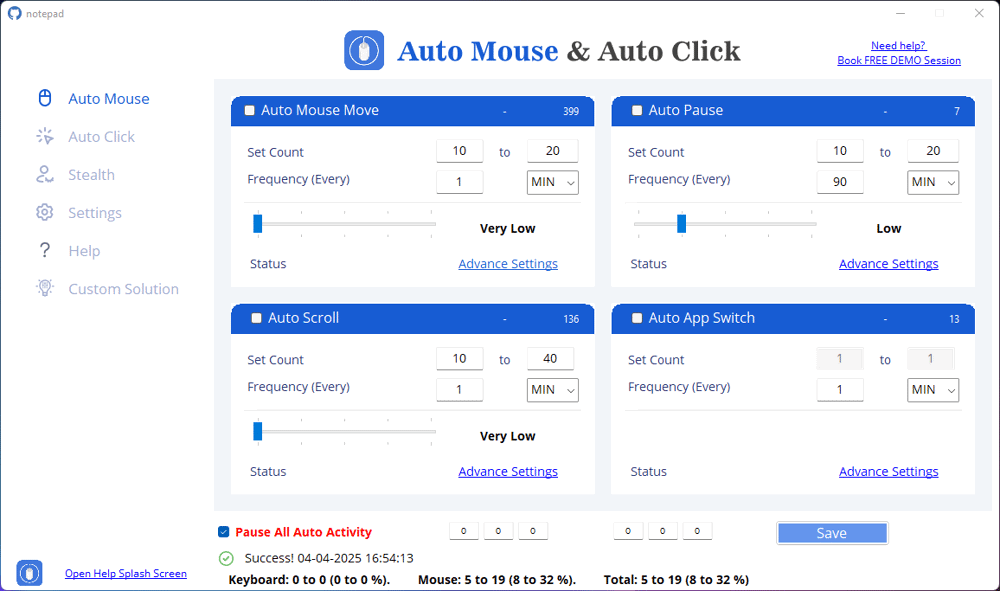
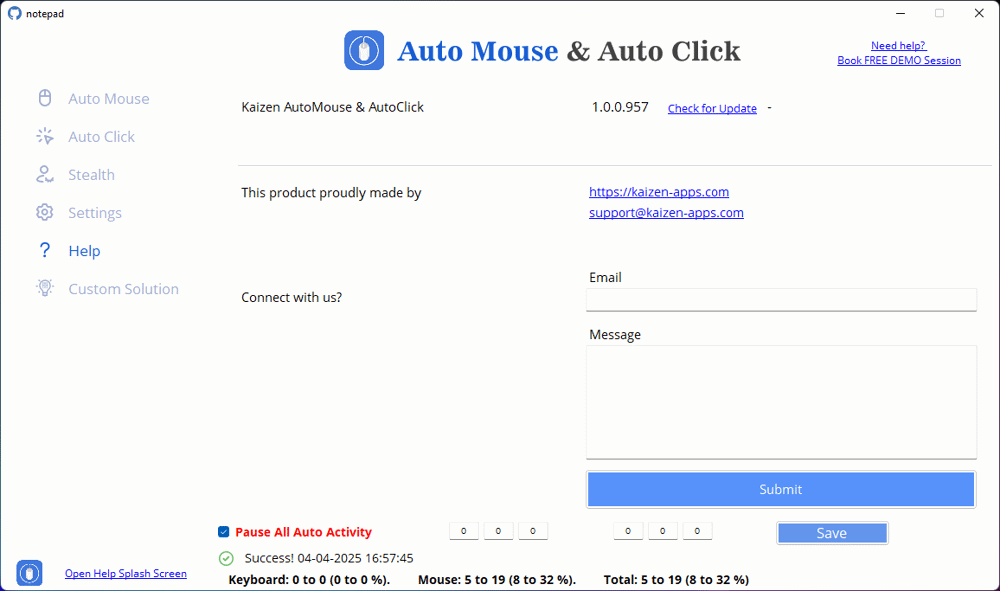
Step 1: Open Application
Use Case 2: Prevent Overuse of Automation in Long Sessions
Steps to Set Up Auto Pause
1. Open the Software – Launch Kaizen AutoMouse and AutoClick.
2. Enable Auto Pause – Locate the “Auto Pause” section in the interface and enable it.
3. Set Pause Count – Define the number of pauses in a session. Example: Set 5 to 15 pauses in an active session.
4. Choose Pause Frequency – Select how often the pause should occur. Example: Every 10 seconds (or adjust as needed).
5. Save the Settings – Ensure changes are applied.
Use Case 3: Create More Human-Like Automation with Intervals
Steps to Customize Auto Pause Intervals
1. Go to Advanced Settings – Click on “Advance Settings” under Auto Pause.
2. Set Pause Limit: No limit (Pauses continue indefinitely). Limit to a specific number (e.g., 1000 pauses).
3. Enable Split Intervals – This allows pauses to occur at random or preset intervals.
Select “Yes” for interval-based pausing.
Choose “No” if you want fixed pauses.
4. Click Save – Confirm the settings.
Use Case 4: Control When and Where Auto Pause Takes Effect
Steps to Adjust Auto Pause for Targeted Control
1. Open the Auto Pause Section.
2. Define Pause Frequency – Increase the time between pauses for longer continuous activity.
3. Limit the Pause Count – Set a maximum number of pauses (e.g., 100).
4. Activate Split Intervals – This makes pauses feel more random and natural.
5. Save and Apply.


