How to Use Stealth Setting
Follow easy steps below to How to use Stealth Setting
Step 1: Open Application
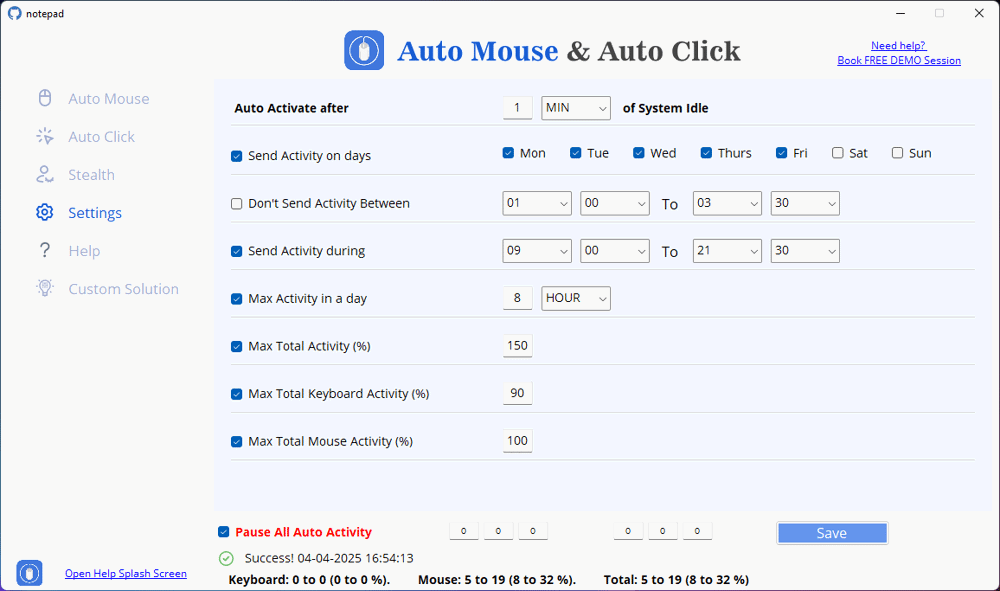
Step 2. Open the Settings Panel
Go to the Settings interface, where multiple customization options are available.
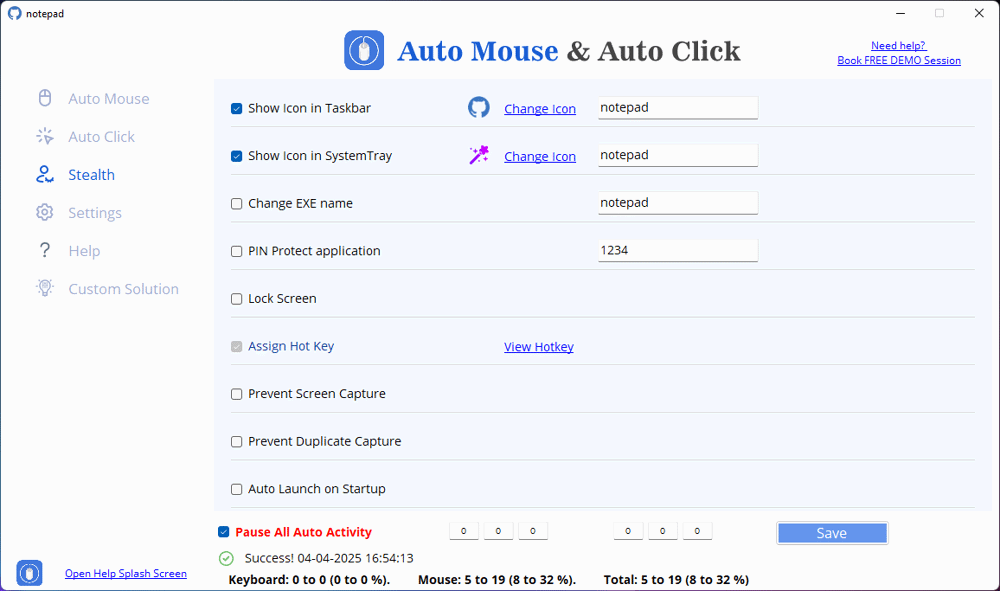
Step 3. Show or Hide Application Icons
Enable “Show Icon in System Tray” to keep the software running in the background.
Click "Change Icon" to customize the appearance of the application icon.
Step 4. Change the Executable (EXE) Name
This helps in cases where you want to prevent detection by other applications.
Step 5: Secure the Application with a PIN
This prevents unauthorized users from accessing or modifying automation settings.
Step 6: Enable Lock Screen Protection
This is useful in shared environments or unattended systems.
Step 7: Assign a Hotkey for Quick Control
This allows you to start or stop automation instantly using a keyboard shortcut.
Step 8: Prevent Unauthorized Screen Captures
This is ideal for protecting confidential tasks and automation processes.
Step 9: Auto-Launch on System Startup (Optional)
This ensures automation is always running without manual activation.
Step 10: Pause or Resume Automation Easily
The success log at the bottom will confirm the action with a timestamp.
Step 11: Save and Apply Settings
The settings will take effect immediately.


