How to Automate Right Click
Follow easy steps below to Automate Right Click
Step 1: Open Application
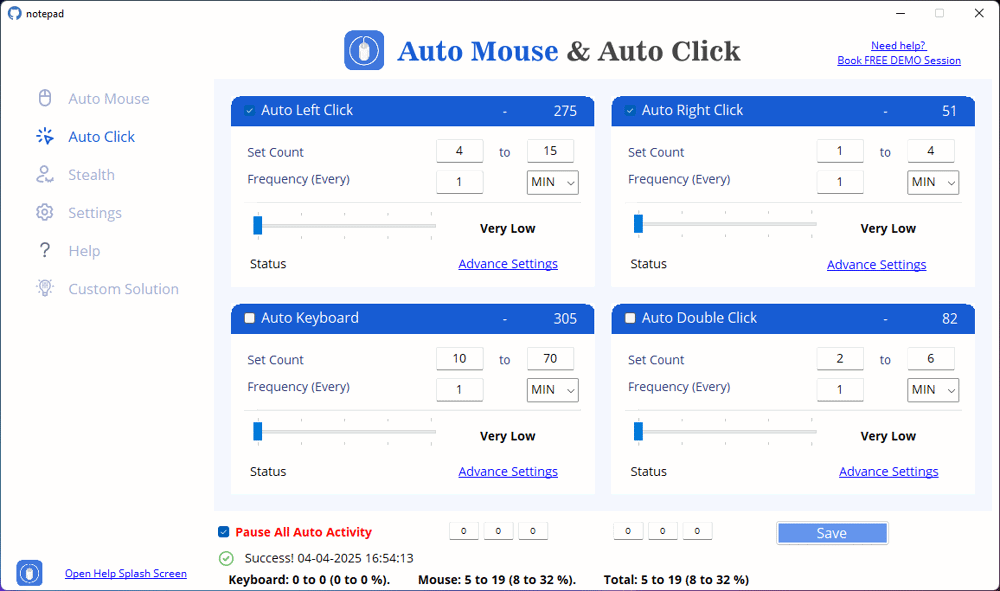
Step 2: Enable Auto Right Click
2. Locate the Auto Right Click section in the main interface.
3. Check the box labeled "Auto Right Click" to activate the feature.
Step 3: Configure Click Frequency and Count
Set the minimum and maximum number of clicks (e.g., 5 to 15).
2. Adjust the Frequency setting to define how often the right-click should happen.
Example: Every 10 seconds (you can increase or decrease as needed).
Step 4: Access Advanced Settings
2. A new settings window will appear with additional controls.
Step 5: Set Click Limit or Infinite Clicks
"Limit to [1000]" (if you want to specify a fixed number of clicks).
2. Choose No Limit if you need continuous right-clicking.
3. Choose Limit to and set a number (e.g., 1000 clicks) for a controlled automation.
Step 6: Cursor Movement Before Clicking
Step 7: Save and Activate the Auto Right Click
2. Once saved, the automation will start based on your chosen parameters.
3. Observe the software executing right-click actions without manual intervention.


