How to Automate Left Click
Follow easy steps below to Automate Left Click
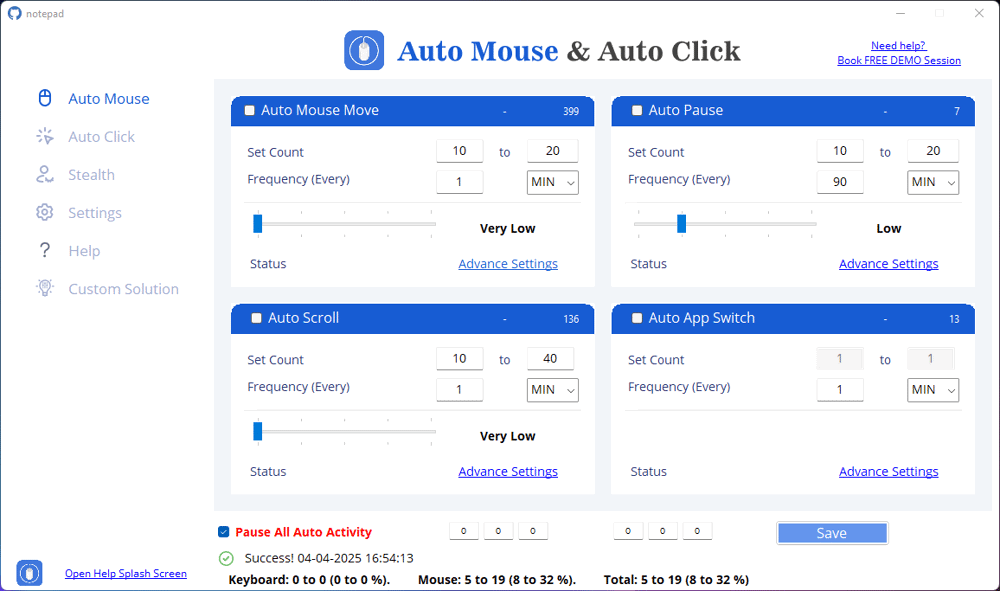
Step 1: Open Application
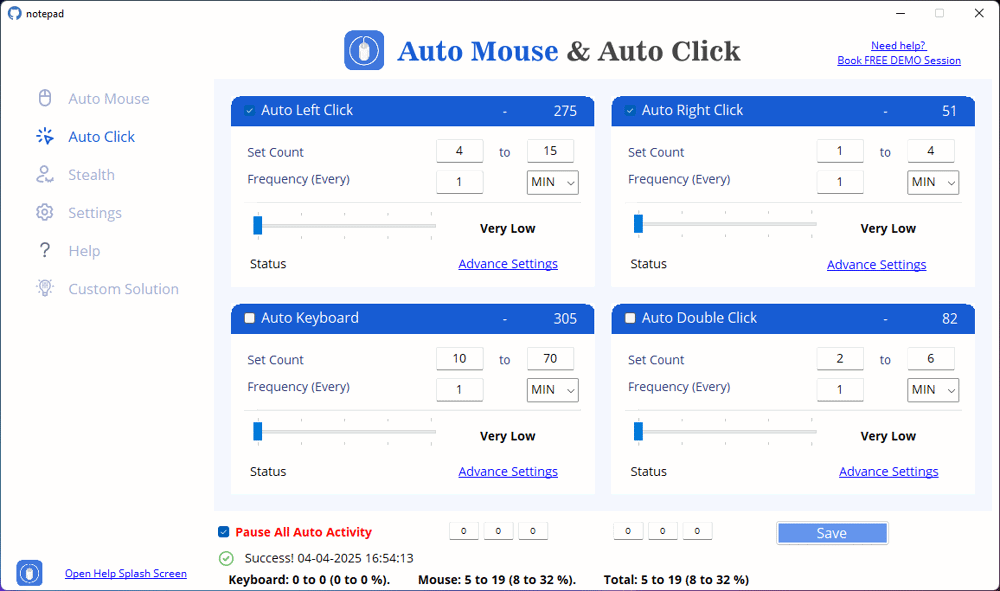
Step 2: Enabling Auto Left Click
2. Locate the "Auto Left Click" section on the interface.
3. Click the checkbox next to "Auto Left Click" to enable it.
4. A blue bar will appear, indicating that the feature is active.
Step 3: Configuring the Click Count & Frequency
1. Set Count: Adjust the number of clicks using the Set Count field. From the image, the range is 5 to 15 clicks per session.
This means the system will randomly choose a number between 5 and 15 clicks each time the automation runs.
2. Set Frequency: Define how often the clicks should occur using the Frequency field. In the image, the value is set to 10 seconds (every 10 seconds, a left click is triggered). You can change this to any interval, depending on your needs.
Step 4: Exploring Advanced Settings
1. Customize Mouse Movement: Decide whether the cursor should move before clicking. The image shows two options:
No Limit (clicks continue indefinitely). Limit to 1000 (clicks stop after 1000 repetitions). If you don’t want unlimited clicks, choose "Limit to" and enter a number.
2. Move Cursor Before Clicking: The system allows you to move the cursor 10 pixels to the left before clicking. You can enable this by selecting "Yes" or disable it by selecting "No" (in the image, "No" is selected). This feature is useful for clicking on slightly different spots each time instead of clicking the exact same point.
3. Super Safe Click Mode: A checkbox for "Super Safe Click" is available. When enabled, the software ensures clicks are natural and less detectable by anti-bot systems (useful for online automation). The image shows that this option is already checked.
Step 4: Saving & Starting the Automation
2. The system will now follow your click count, frequency, and movement settings.
3. If you ever want to pause or stop the automation, use the Pause All Auto Activity button at the bottom.


