How to Automate Scrolling
Follow easy steps below to Automate Scrolling
Step 1: Open Application
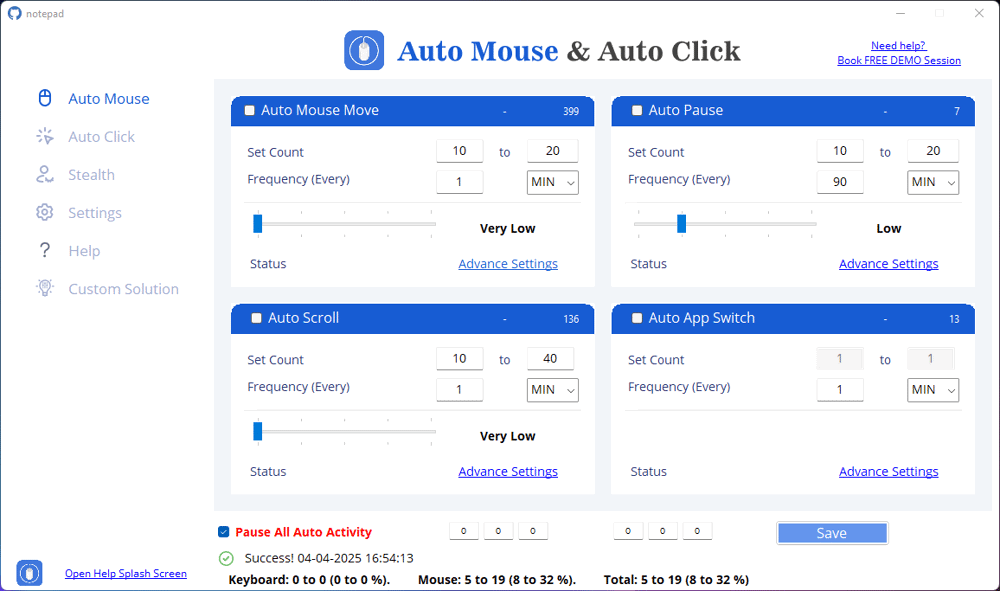
Step 1: Enable Auto Scroll
2. Locate the "Auto Scroll" option in the main interface.
3. Check the box to enable Auto Scroll (as shown in the first image).
Step 2: Configure Scroll Settings
You can define how many times scrolling should happen within a session.
Example: 5 to 15 (as seen in the interface). This means the Auto Scroll function will trigger randomly between 5 to 15 times.
2. Set Scroll Frequency: Define how often scrolling should occur. Example: 10 seconds (as shown in the screenshot).
This means the screen will automatically scroll every 10 seconds.
Step 3: Advanced Auto Scroll Settings
2. A new window will appear.
3. Here, you can customize Auto Scroll behavior to fit your needs.
1. Define Scroll Limits: No Limit – Auto Scroll will continue indefinitely. Limit to [X] times – Auto Scroll will stop after a set number of actions. Example: 1000 times.
2. Select Scroll Type: You can customize how the scrolling occurs:
Horizontal Minor Scroll – Small movements left or right.
Horizontal Major Scroll – Larger horizontal scrolls.
Vertical Minor Scroll – Small up or down movements.
Vertical Major Scroll – Larger vertical scrolls.
Example: Vertical Major set to 20.
3. Customize Scroll Direction Enable or disable specific scroll directions:
1. Vertical Minor Scroll – Small vertical scrolls.
2. Scroll More to Top – Moves the screen upwards more frequently.
3. Scroll More to Bottom – Moves the screen downwards more frequently.
4. Horizontal Minor Scroll – Small left/right scrolls (disabled).
5. Scroll More to Left – Moves the screen to the left (disabled).
6. Scroll More to Right – Moves the screen to the right (disabled).
4. Click "Save" to confirm the settings.
Step 4: Monitor Auto Scroll Status
If "Pause All Auto Activity" is enabled, Auto Scroll will temporarily stop.
To resume scrolling, disable Pause All Auto Activity and restart Auto Scroll.


