How to Automate Mouse Moment
Follow easy steps below to Automate Mouse Moment
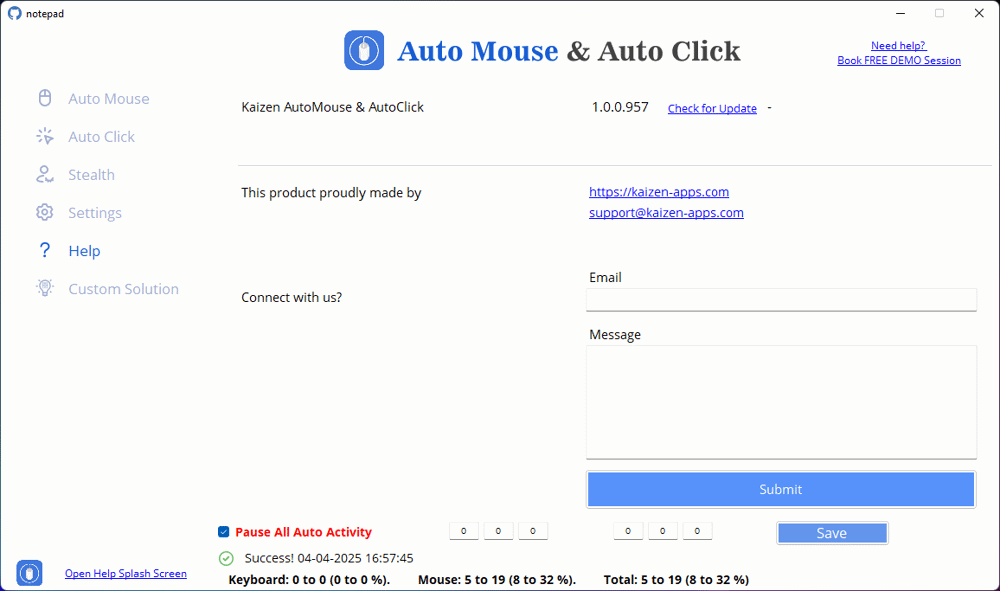
Step 1: Open Application
Use Case 2: Keep Your Computer Active Without Manual Input
Steps to Set Up Automatic Mouse Movement
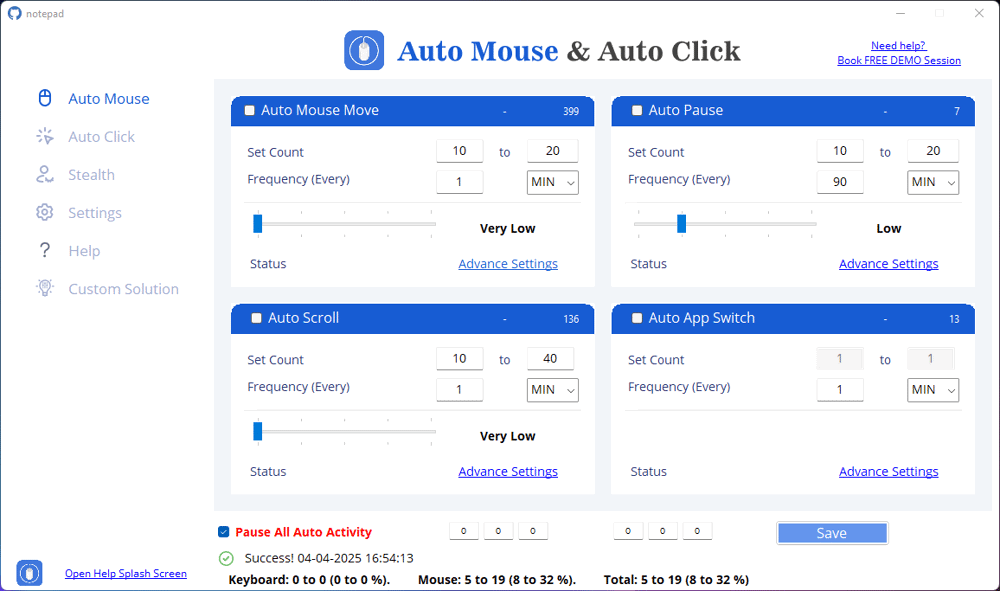
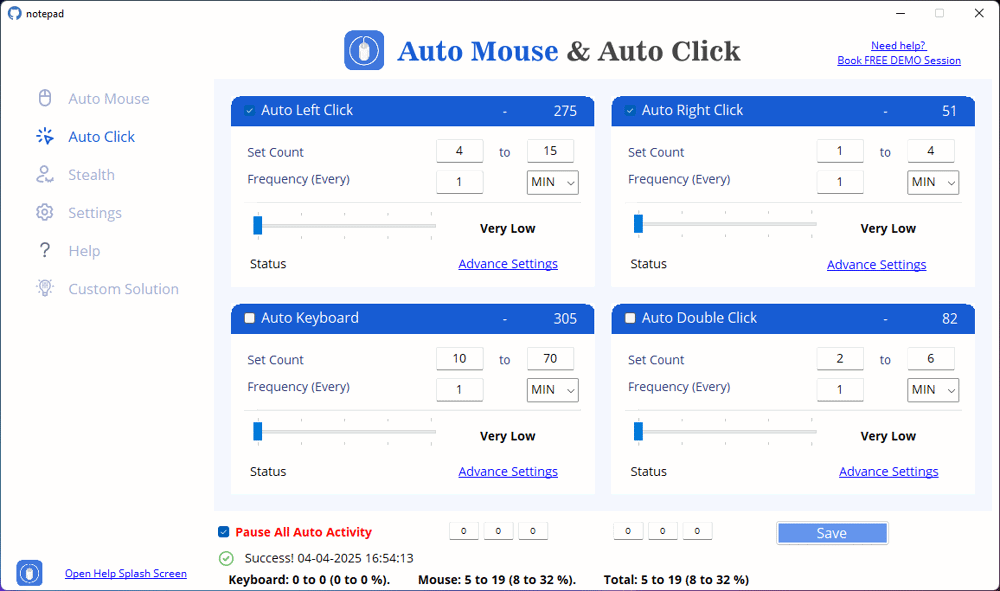
1. Open the Software – Launch Kaizen AutoMouse and AutoClick on your computer.
2. E nable Auto Mouse Move – On the main screen, you will see the “Auto Mouse Move” option. Click to enable it, by clicking on the tick on checkbox. Once you have done it, it will start automatically.
3. Set the Movement Count – Choose how many times the mouse should move within a session.
Use the “Set Count” option and enter a range, e.g., 5 to 15 movements per session.
4. Define Movement Frequency – Select how often the mouse should move.
Example: If you set it to 10 seconds, the mouse will move every 10 seconds.
5. Check Pause Status – If you see “PAUSE ALL ACTIVITY is enabled,” click to resume activity.
6. Start the Automation – Once all settings are configured, the mouse will move automatically.
Use Case 3: Simulate Human-Like Mouse Movements
Steps to Customize Movement Style
1. Go to Advanced Settings – Click on “Advance Settings” to fine-tune mouse movement behavior.
2. Choose Movement Limit : Select “No Limit” if you want the mouse to move indefinitely. Or set a limit (e.g., 1000 movements) for controlled automation.
3. Select Movement Location – Choose where the mouse should move. Near Current Mouse Position (Recommended for subtle activity). All Over Screen (For broader random movement). Only in Taskbar (If you don’t want interference with active work).
Specific Corners – Move the mouse only to the top right, bottom left, etc.
4. Enable Smooth Mouse Movement – This makes movements appear more natural.
Select “Yes” to avoid robotic or unnatural movements.
5. Save and Apply – Click “Save” to finalize the settings.
Use Case 4: Prevent Certain Areas from Being Affected
Steps to Avoid Unwanted Areas
1. Open Advanced Settings.
2. Select “All Over Screen but Avoid Taskbar” – This ensures that movements won’t trigger accidental clicks on important system icons.
3. Customize Frequency – Reduce movement frequency if needed (e.g., every 20-30 seconds instead of 10).
4. Save the Changes.
Use Case 5: Automate Mouse Movement for Repetitive Tasks
Steps to Set Up Task-Specific Mouse Movement
1. Set Movement Count and Frequency – Define how many movements you need and at what interval.
2. Choose a Fixed Area – Select options like:
Near Center of Screen (Useful for monitoring applications). Top Right Corner (Ideal for clicking “refresh” or alerts).
Bottom Left Corner (Useful for automated file operations).
3. Enable Smooth Movement – This is especially useful if the task requires precise movements.
4. Start the Automation.


